Requirements #
You need to have generated your key hash before following this tutorial, if you have not already done so, follow these steps: https://appzmotion.com/help-center/getting-facebook-key-hash/.
Steps #
- Go to your Facebook Developer Consoles following this link: https://developers.facebook.com/apps/.
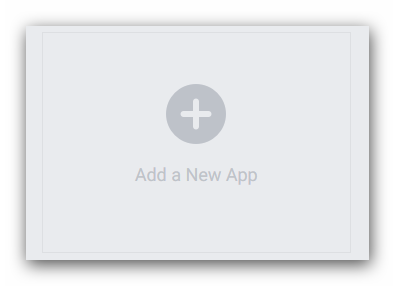
- Click Add a New App.

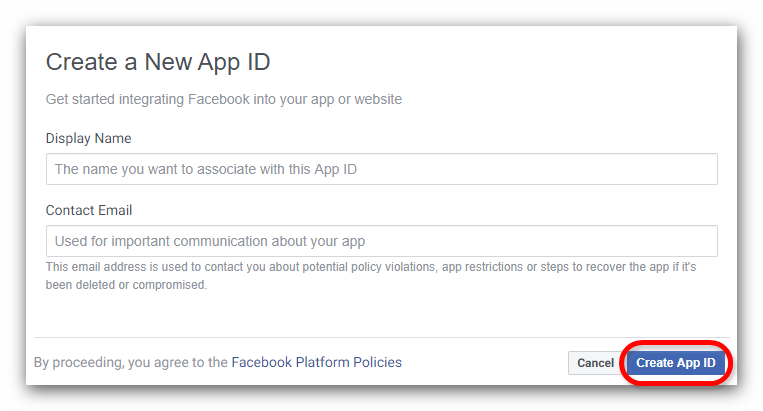
- Enter Display Name of our app, Contact Email and click on Create App ID.

- Click Se Up Facebook Login.

- Select Android.

- In the Android implementation tutorial, skip steps 1 and 2 by clicking the Next button.
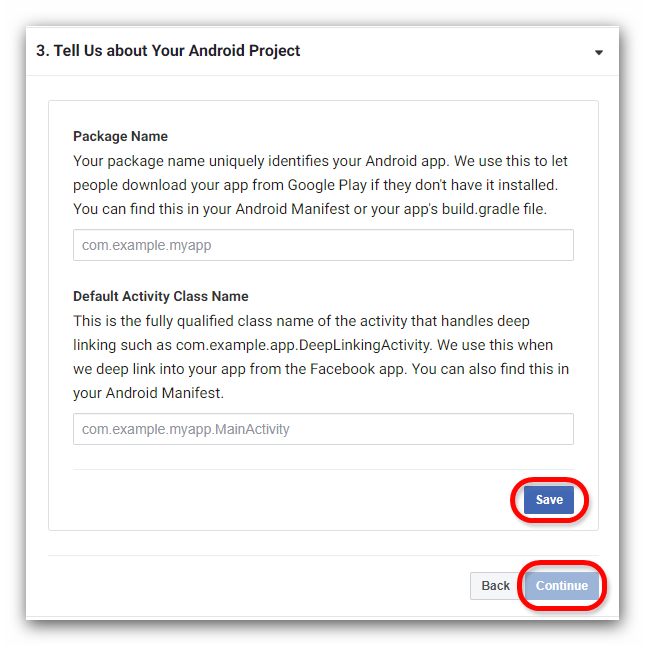
- In the step 3, enter your app Package Name and Default Activity Class Name (you can put com.example.yourappname.MainActivity), then click on Save and Continue buttons.

- After click on Continue button, a popup will display, click on Use this package name.

- In step 4, paste your Key Hashes and click Save and Continue.

- In the step 5, enable Single Sign On, then click Save and Next buttons.

- Skip steps 6, 7, 8, 9 and 10 by clicking the Next button.
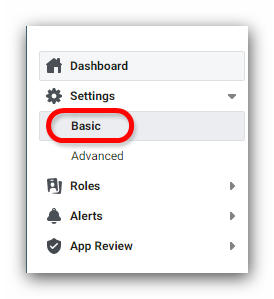
- Go to Settings -> Basic from left side menu and copy your App ID. If you wish you can also complete the information of your application here.


- Go to your Android Studio project -> res -> values -> strings.xml and replace your Facebook App ID and your Facebook Login Protocol Scheme (this is the same as your App ID but with “fb” at the beginning. Example: facebook App ID: 54756432134568, then the FB Login Protocol Scheme is fb54756432134568) at the bottom.


